For my major project (Goldsmiths, 2019–2020) I built a small electro-pneumatic organ, with computer control over an acoustic sound source. Newest entries first.
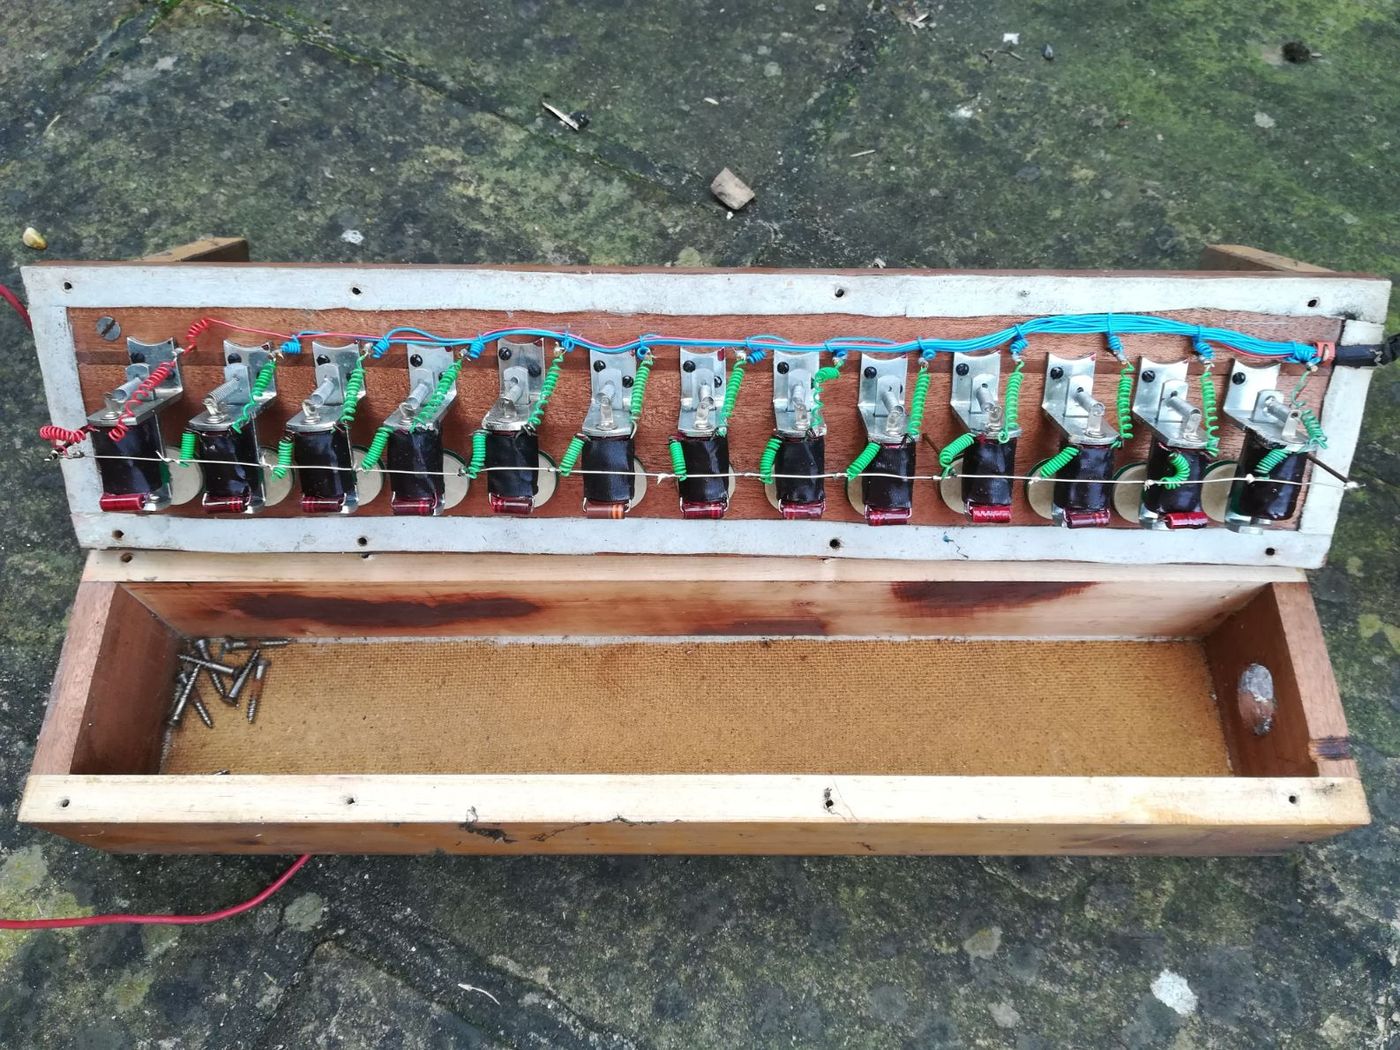
After fleshing out a general plan for modular design of the organ, I set about testing the windchests I had bought to see how they function, as well as make any necessary repairs or alterations. Surprisingly, upon opening up the first windchest all the original wiring was still very much intact, and the magnets all looked clean, although the felt pads which plug the toe hole were quite worn out and dusty, but they still provided a good seal. There are thirteen magnets in this chest, which require two connections. The ground wire of every magnet is attached to a copper rod which acts as the common ground, this rod is connected to a terminal to the outside of the chest making it easy to hook up to the common ground of other windchests, as well as to the midi2Org board. The positive wires are wound together and protrude out one side of the windchest, only about 4 inches, so an extension cable must be made in order to reach the terminals on the midi2org board. I now needed to hook up the magnets to the midi2Org board to check If both the board and the magnets are working correctly.
Testing the magnets with the board was very simple, the terminals one the board are marked 1-64, each of these terminals can be assigned a MIDI note to trigger them, after configuring the MIDI number and channel assignments I could easily trigger every magnet on the board using a virtual MIDI keyboard and MIDI interface. The midi2ord board requires two power supplies, one for the magnets and the other for the logic part of the boards, detailed below. Initially I used two 9 volt batteries in series to power both parts of the board.
As a result of this test, I could see every magnet on the did become magnetised, but only some with enough force to open the valve and some of them appeared ‘sticky’ - instead of a short, sharp motion when opening and closing. This could be due to a couple of reasons:
The magnets aren’t receiving enough power to push against the spring which holds them closed by default
There’s some dirt/residue in the mechanism that need to be cleaned and lubricated
As a result of this, I used contact cleaner and Isopropyl Alcohol to clean all the magnets, especially around the hinge on the armature which opens and closes. This seemed to greatly improve their movement; however, the power being supplied to the magnets was still not great enough to open the valves properly. I then experimented with different power supplies suggested in the Midi2Org board manual and found that a 19Volt 3Amp supply was the perfect amount to power both the board and the magnets on this chest, giving me 13+ note polyphony. After these adjustments all the valves opened and closed perfectly.
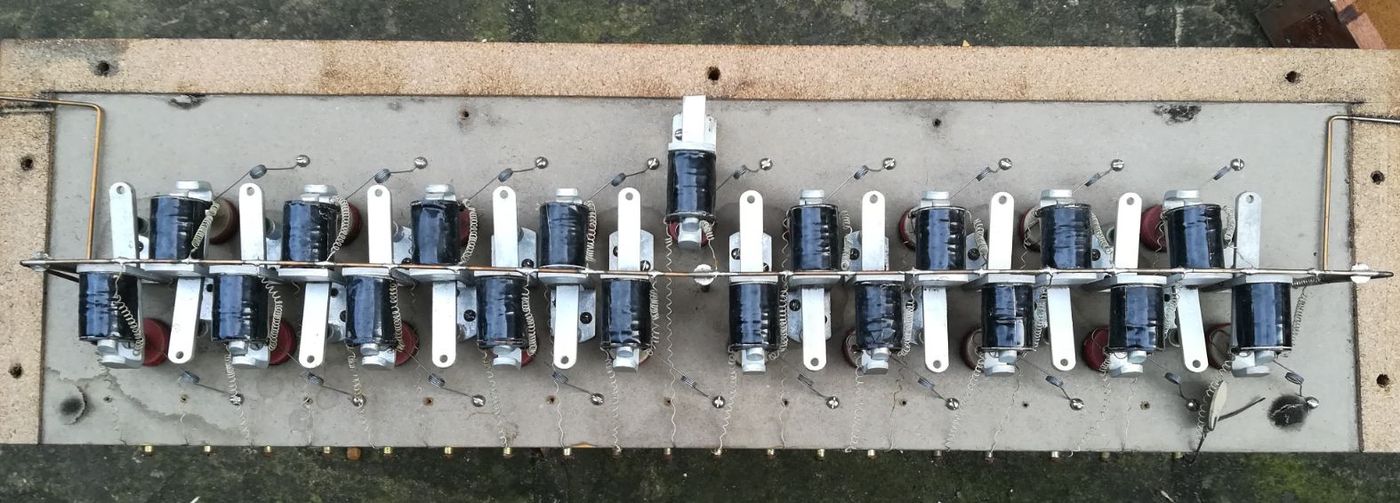
The second, larger 19-note windchest was slightly older, opening it up to look at the wiring, it had significantly degraded, although the common ground rail was still intact and looked fairly rigid. This chest seemed to use a different system to organise the internal wiring. Each + wire was attached to a small terminal on the outside of the chest, I decided that the wire organisation on windchest 1 was a lot cleaner as well as easier to debug and transport. As a result of this I stripped the + wires from the terminals and re-soldered them on to small nails next to each magnet, I then soldered a further longer wire, one for each nail which I then bunched together using heatshrink tubing so they could protrude out of one end of the case. This allows me to easily hook them up to the midi2Org board and test the magnets.
Luckily these magnets seem to work fine with the same PSU as windchest 1, although two magnets are completely broken so had to be removed. Replacements can be sought at a later date.
During the meeting I told Matt of my progress in acquiring the majority of the hardware and discussed how to further advance the project. I’ll spend the next week trying to fix up and test the windchests, checking each of the magnets are working by connecting them to the midi2org board. After that, I’ll use an air compressor to see if its possible to get some sound out of the pipes. We then discussed ideas for the software control system, with Matt suggesting I look in to various ML libraries tailored for use in a musical context.
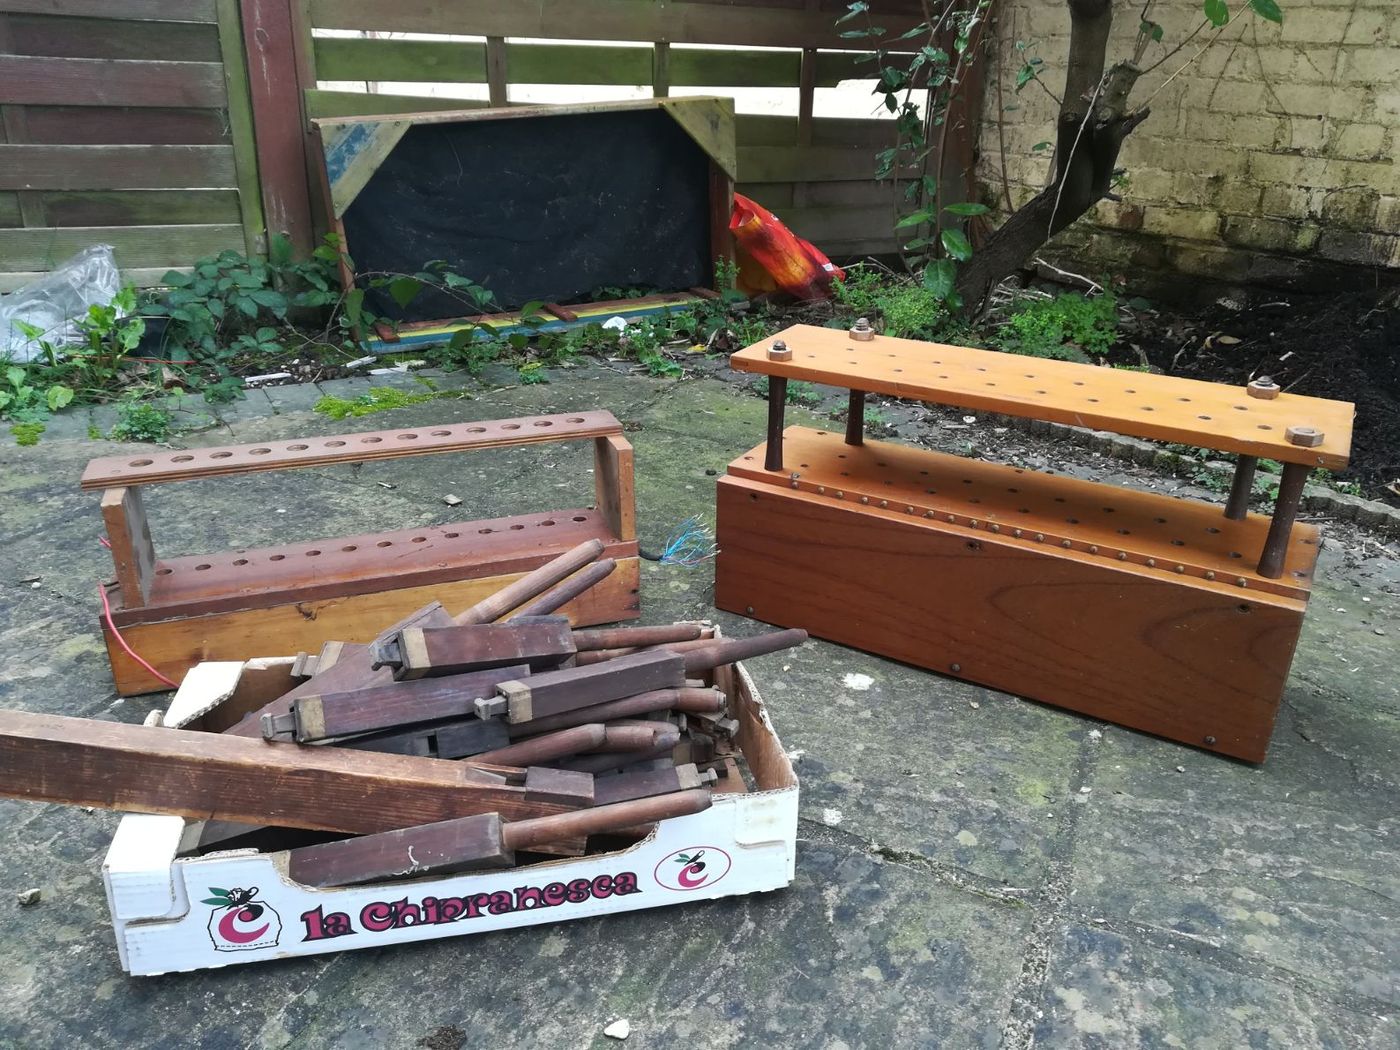
On the 19th January I travelled to Stratford-upon-avon to meet Dave Edwards, an ex-organ builder who has amassed a vast collection of obsolete organ parts over his 60 years in the industry, spread between 3 large storage facilities . He provided great advice and assistance, and kindly sold me a 19 note windchest, 13 note windchest and 36 wooden stopped diapason pipes for a discounted price. This means the only piece of hardware left to buy is the blower – research into the exact type of blower that could be used will happen in the coming weeks.
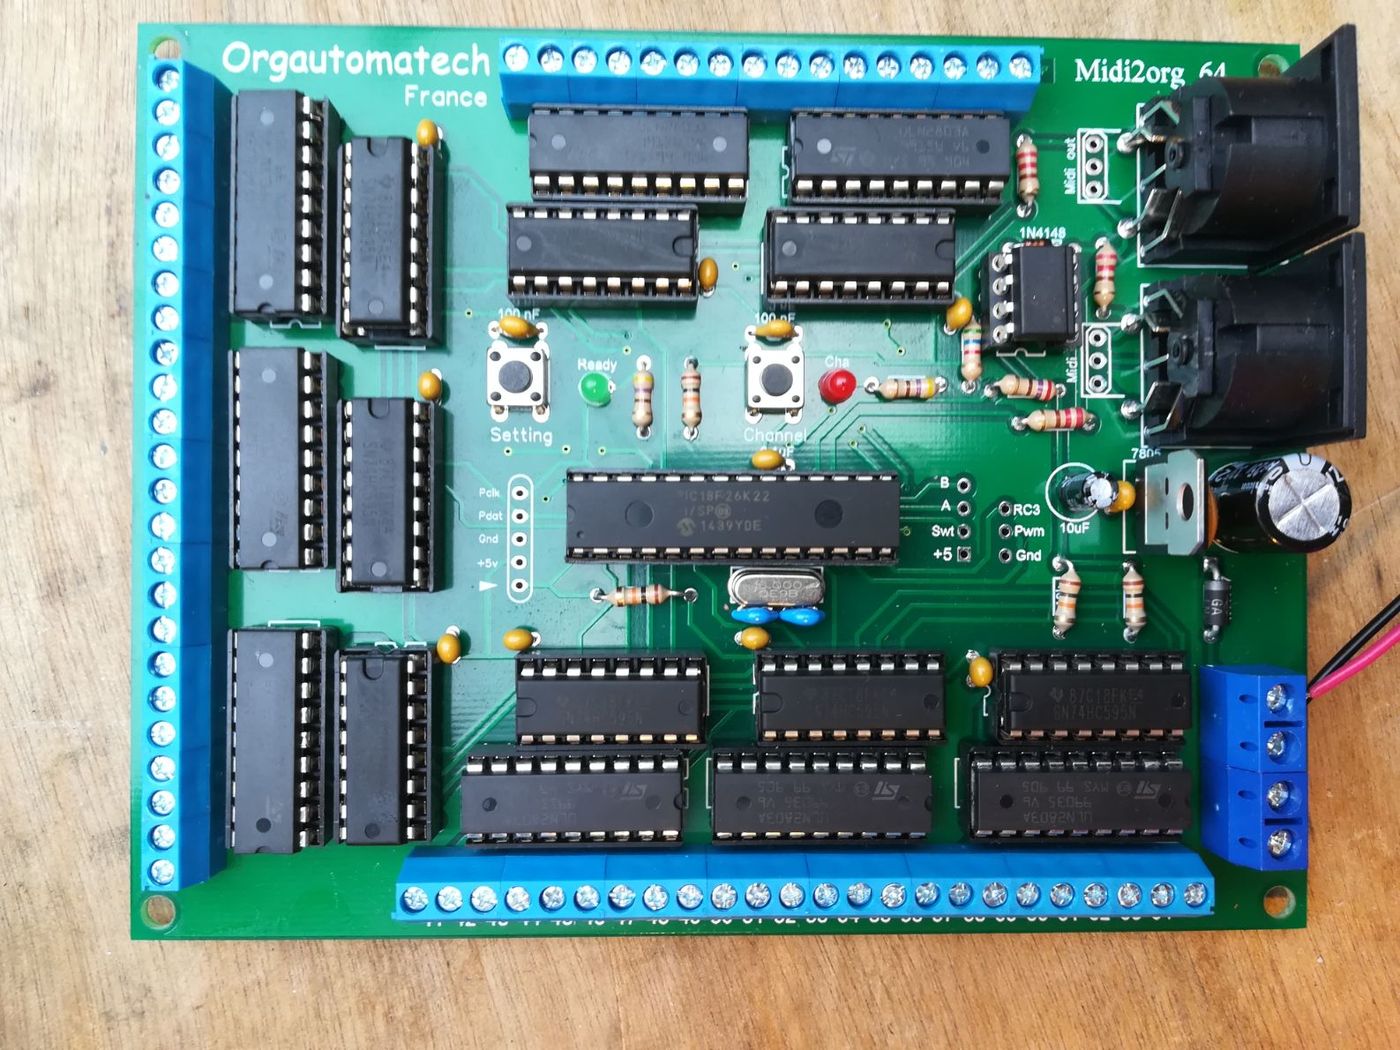
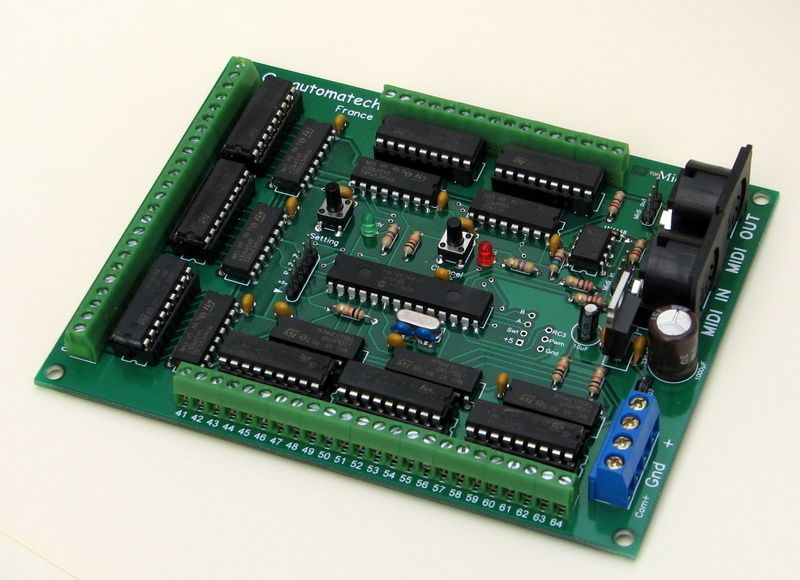
The windchests are all fitted with magnets already, which makes things a lot easier, although I’ll probably have to do some restoration as they are about 30-50 years old, but this shouldn’t be more complicated than replacing some of the wiring. I’ve also soldered the midi2Org 64 board DIY kit I ordered and it’s working as expected. The board uses a 9 volt battery to power the logic parts, and I’ll use a 12 volt 1 amp transformer for the solenoids, which should give me about 6-10 note polyphony.
As suggested by my supervisor, I set about creating a simple prototype – air flowing in to a pipe which is controlled by a computer. This prototype uses an air compressor fed in to a pneumatic solenoid valve, controlled by an Arduino and TIP120 transistor via Max MSP to open and close the valve video.
Overall the prototype works but does have some drawbacks. The solenoid has a very small valve – this greatly reduces the air flow, meaning that the input air would have to have a much higher static pressure than an electric blower can provide, so I would have to use an air compressor to power the organ. Using this design for the organ would make it a lot easier to build though, it would simply consist of connecting each organ pipe to the compressor via copper piping, with a solenoid before the pipe hole. This could perhaps be a method to use for the organ should other ways to route the air to the pipes prove unsuccessful.
I had my first meeting with my supervisor, in which I talked through my idea for the project. We discussed the possible difficulties I would face in constructing the organ and decided to break down the construction process in to a series of discrete milestones, the first being to create a basic first prototype with a computer controlling the flow of air in to one pipe. We also discussed possible computational processes to bring the project more into the world of computing, and he suggested I look in to some kind of self-regulating system where the computer would then listen to the output and potentially modify the control input in response. He later emailed me, Ross Ashby’s Homeostat machine, as an example to look in to.
The past few days I have focused on finding out how traditional organs are constructed and their different components allowing me to settle on a basic design. The organ would consist of several discrete units (made of plywood or a similarly inexpensive material) connected via air ducting pipes, which each serve as a housing for different components of the organ. These will consist of:
An acoustically treated box for the blower
The blower provides the wind at the correct pressure for the pipes. This will be placed in a box lined with acoustically treated foam to minimise noise. The box will have an inlet hole, to supply the air to the blower, and an outlet hole, to pass the wind to the other components. The blower would ideally have a variable speed controller, which allows for the possibility of voltage control of the wind pressure.
A Bellows to regulate the wind pressure, with a spill valve
There are many ways of constructing a wind regulator, and the exact type and regulation method will be decided after further research. If this proves too complicated to construct, a used organ bellows can easily be obtained cheaply, and re-purposed for this project.
Windchests/wind routing system for each pipe
In conventional organs, the wind is directed, from the bellows, to windchests one for each rank of pipes. In organs with electro-pneumatic actions, each pipe has a dedicated electromagnet housed in the main air reservoir within the chest. When actuated, the magnet opens a small valve when the corresponding key is depressed, thus sending the pressurised air within the chest out through the pipe causing it to sound. The size and design of the windchests would depend on how I route the wind to each pipe, as there are various techniques for accomplishing this.
Playing Method/User-Interface
To interface with the instrument, I will use an Orgautomatech midi2Org64 decoder board, allowing for control over up to 64 solenoids via the MIDI protocol. The main interface will be designed in Max MSP, but as there are so many ways to control the instrument using a computer, other avenues should also be explored
Since the last blog entry, I have been researching for relevant references and projects involving augmented instruments and have found some really useful sources. As a result of this research, I’ve decided to build a small organ, given that there have been many instances of hobbyists, artists or researchers constructing electro-pneumatic organs and there are plenty of research materials already published. Organ components like pipes, bellows and solenoids are also easy to obtain online relatively cheaply. Having been awarded £333.0 by the Joe Brown Memorial Award scheme, this will really help in financing the project, something that initially concerned me.
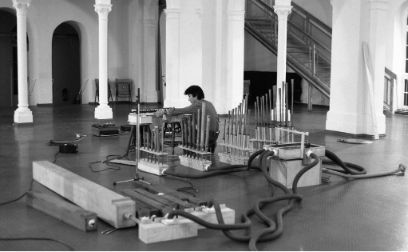
Yoshi Wada is one such composer who I have been researching. He has constructed an array of unconventional instruments including bagpipes, an adapted organ and various horns made with readily-available materials. These were used in many of his published works from c.1970-1990 (e.g. Off The Wall) and are amply documented.
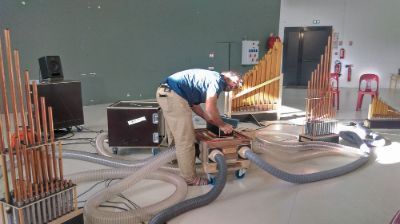
A more contemporary and very relevant example of a similar project would be the Organous, designed and built by the French experimental ensemble Pancrace. This more modern take on an adapted organ uses MIDI as its interface protocol.
Both these examples seem to use a modular approach in the organs – each component housed in dedicated units and connected with tubes. This is most likely the format I will use to design the organ.
For my major project, I’d like to focus my research on augmented instruments, specifically those which allow for computer control over an acoustic sound source, realising sonic possibilities not attainable by a human performer. My idea for this project came after seeing several concerts or discovering recorded music involving hand-crafted, unusual or augmented instruments, such as Xenia Pestova’s piece Magnetic String Resonance, Tarek Atoui’s The Reverse Collection or Sholto Dobie’s ad-hoc organs and droning reed instruments found on his The Ringer EP, to name just a few examples.
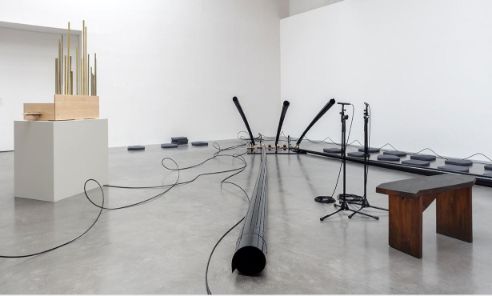
Photo: tarek atoui's the reverse sessions, kurimanzutto, mexico city, 2014
I am also interested in showcasing the final product in the form of a concert and/or recorded media, to illustrate the uses and playing techniques of the finished product in a musical/performative context.
I am currently researching instances of such instruments being made, as well as constructing some simple noise-making objects, such as those found in Bart Hopkin’s Musical Instrument Design, to decide what kind of instrument I would like the final product to be and have discovered some great references and examples in the process.